How to Setup Newsletter Configuration

Email newsletters are a powerful marketing tool that helps convert visitors into customers. By capturing email addresses, you can nurture potential buyers through targeted campaigns, special offers, and valuable content that drives sales over time.

Why Email Marketing Matters

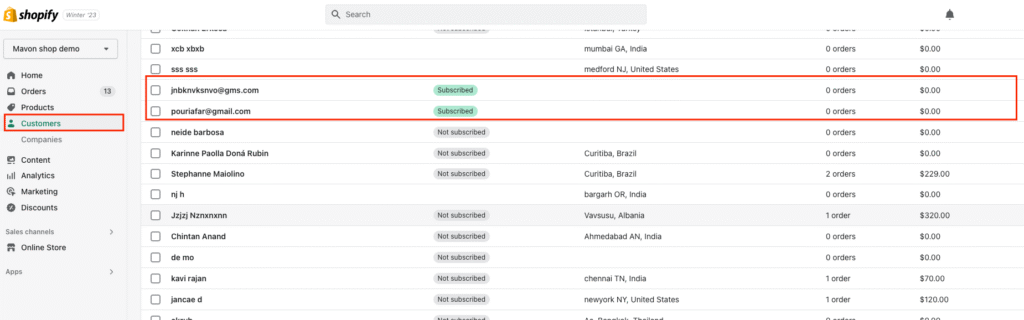
Building an email list allows you to:

  • Re-engage price-sensitive customers with exclusive discounts and promotions
  • Remind forgetful browsers about products they viewed but didn’t purchase
  • Build trust and credibility by sharing your brand story and expertise
  • Convert delayed purchases into future sales through strategic follow-ups

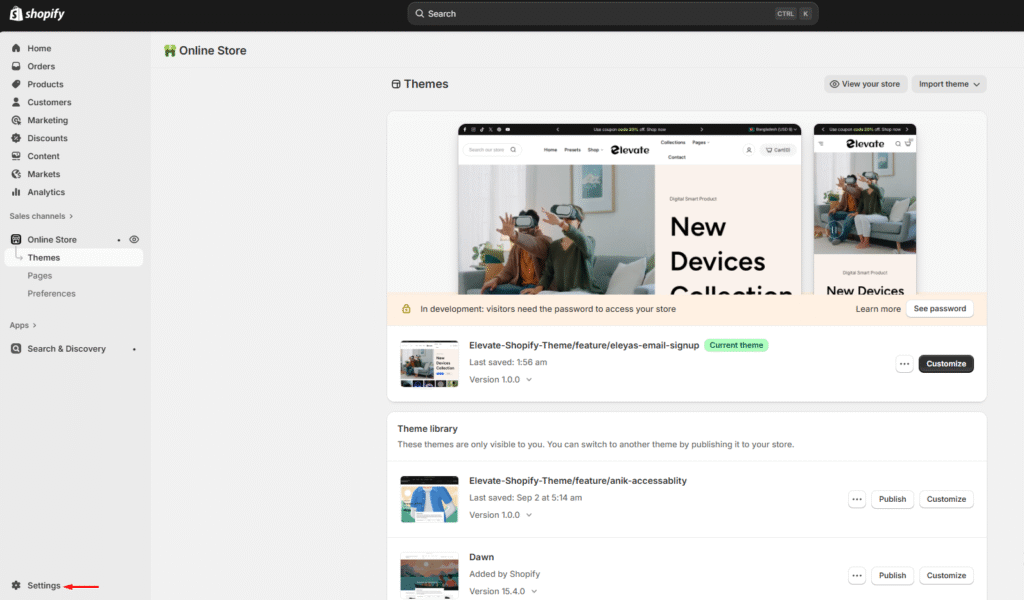
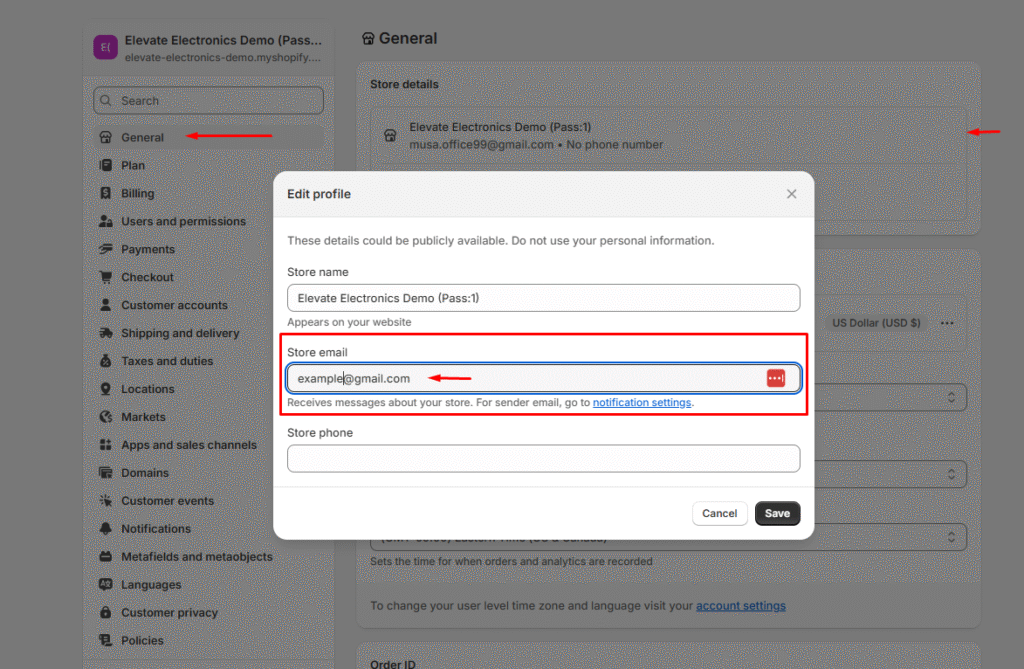
Step 1: Configure Your Sender Email

Set up your newsletter sender information to ensure proper delivery and brand recognition:

  1. Navigate to Settings in your admin panel
  2. Go to General
  3. Select Store details
  4. Enter your Sender Email address


Best Practices:
  • Use a professional email address (e.g., [email protected])
  • Avoid generic addresses like noreply@ to improve deliverability
  • Ensure the email domain matches your store domain for authenticity

Step 2: Monitor Your Subscriber List

Keep track of your growing email list to measure your marketing success:

  1. Access your Customer List from the admin dashboard
  2. Filter by Newsletter Subscribers to view only subscribed customers
  3. Review subscriber data and engagement metrics

Next Steps

Once your newsletter is configured:

  • Create welcome email sequences for new subscribers
  • Segment your audience based on purchase behavior and interests
  • Plan regular campaigns with valuable content and offers
  • Monitor performance through open rates and click-through metrics

Last updated on November 23, 2025

Was this article helpful?

PREVIOUS

Enable/Disable the dynamic checkout button

NEXT

Set up the newsletter popup

Powered by Support Genix