Learn the step-by-step process to customize your blog layout and appearance using the theme customizer’s blog-specific settings.
Step 1: Select Blog Page
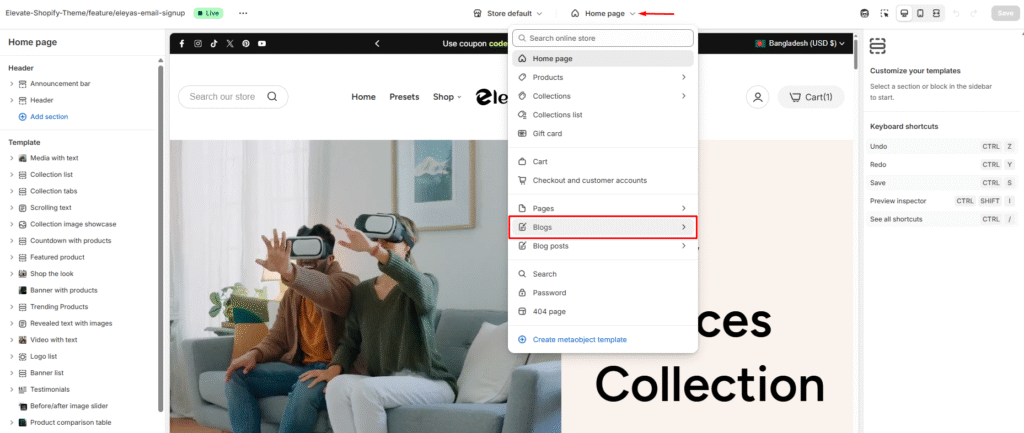
Navigate to your blog page within the theme customizer:
- Go to Shopify Admin > Online Store > Themes and click Customize
- In the top navigation bar, click the page selector dropdown
- Select Blogs from the dropdown menu
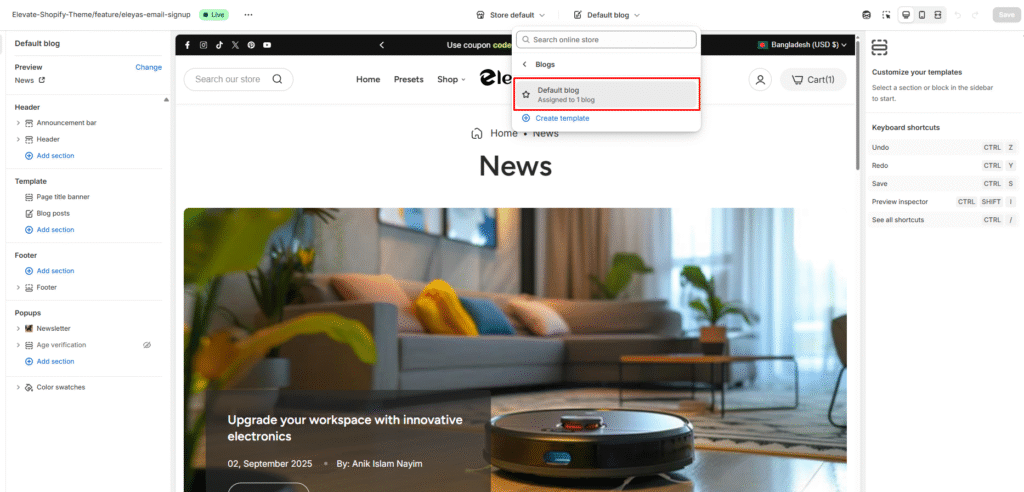
- Choose your specific blog (e.g., “News”) to load the blog template
Alternative Navigation:
- You can also access through the left sidebar by selecting Templates > Blog posts
- Both methods will load the blog customization interface
Step 2: Blog Customizer Interface
Once you’ve selected your blog, the customizer displays two main areas:
Left Sidebar – Template Sections:
- Header – Blog page header settings
- Blog posts – Main blog content configuration
- Footer – Blog page footer options
Right Panel – Blog Settings:
When you select “Blog posts” from the sidebar, the right panel shows:
Blog Header Settings:
- Show blog header – Toggle blog title display
- Header description – Add introductory text
- Show page link – Enable navigation between blog pages
- Show blog tags – Display category filtering tags
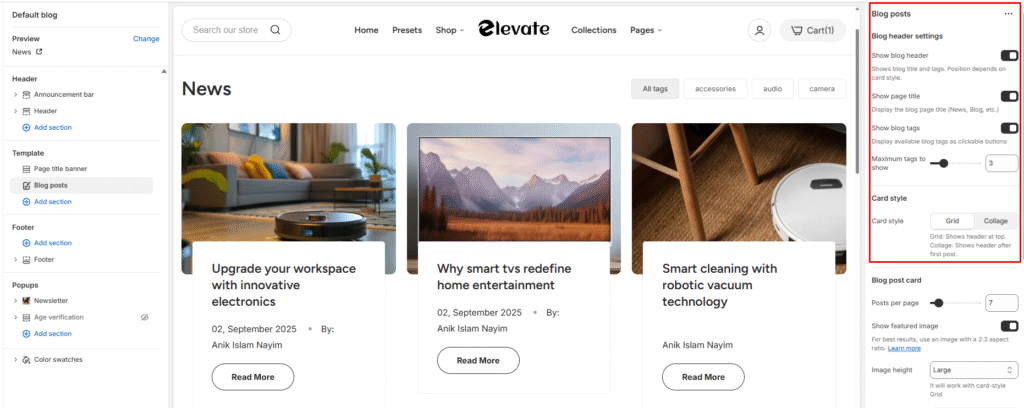
Step 3: Blog Post Card Customization
Configure how individual blog posts appear:
Post Display Options:
- Posts per page – Control number of posts shown (adjustable slider)
- Show featured image – Display post thumbnails
- Image height – Set consistent image dimensions
- Show content – Display post excerpts
- Show author – Include author information
- Show date – Display publication dates
- Show comment count – Show number of comments
- Button style – Choose “Read More” button appearance (Secondary/Primary)
- Button size – Select button size (Small/Medium/Large)
